
The “Customer Details” section allows administrators to manage and view the details of customers within the system. This area is divided into several functionalities to streamline customer management.
– All Customers

Step-by-Step Guide
1. Navigating to Customer Details:
- On the left-hand side of the dashboard, locate the “Customers” menu.
- Click on “Active Customers” under the “Customers” section to view the list of active users.
2. Viewing All Customers:
- The main display area will show all customers by default.
- You can toggle between viewing “All Customers” and “Customers with Docs” using the tabs at the top.
3. Customer Information:
The table provides detailed information about each customer, including:
- User ID: A unique identifier for each user.
- User Name: The registered name of the customer (shown as “User” in this image).
- Phone Number: The customer’s contact number.
- Email: The registered email address of the customer.
- Last Login: The last time the customer logged into the system.
- Last Ride On: The date of the last ride taken by the customer.
- Total Rides: The total number of rides the customer has taken.
4. View OTP:
- Each row has a blue “OTP” button on the right side.
- Clicking this button allows the admin to view the OTP (One-Time Password) associated with that particular customer.
5. Search Functionality:
- On the top right of the table, you will find a search bar where you can search for a customer using their User ID, Phone Number, or Email.
6. Import Users:
- You can import a list of users by clicking on the “Import Users” button at the top of the table.
- This feature is useful for bulk-adding customers into the system.
7. Customize Display:
- You can customize how many entries are shown on the page using the dropdown menu above the table on the left.
- This allows you to view more or fewer customers per page.
Customers with Docs (Add-On)
The “Customers with Docs” tab is specifically for managing customers who have uploaded documents for verification. This section allows administrators to review, approve, or manage customer documents.
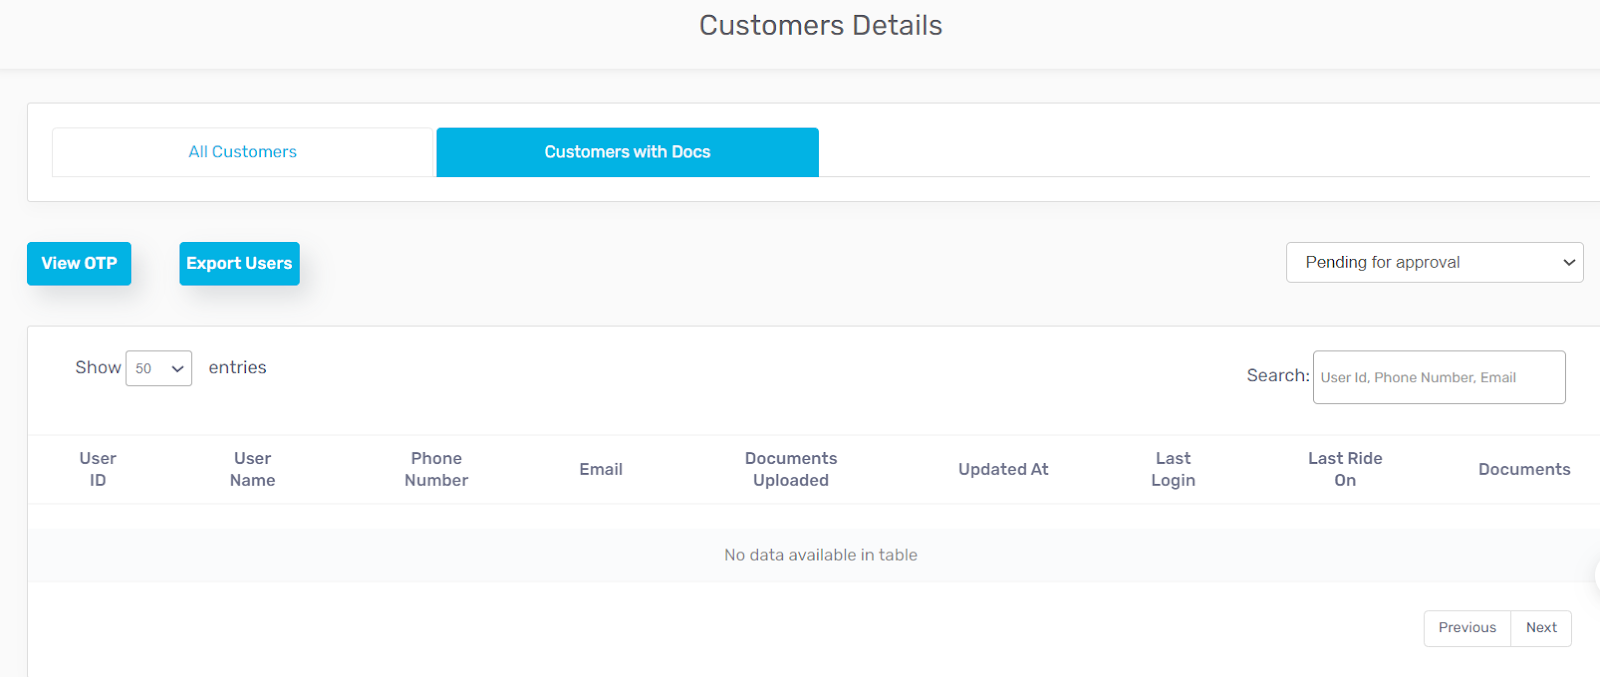
1. Accessing the “Customers with Docs” Tab:
In the “Customers Details” section, click on the “Customers with Docs” tab at the top. This will filter the list to show only customers who have uploaded documents.
2. Filter Customers by Approval Status:
On the right side of the screen, you’ll see a dropdown menu labeled “Pending for approval”.
Use this dropdown to filter customers based on their document approval status (e.g., Pending, Approved, Rejected).
3. Export Users:
You can export the list of users by clicking the “Export Users” button next to “View OTP”. This feature allows you to download a CSV or Excel file containing the customer details.