
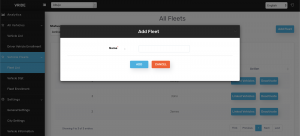
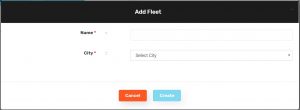
Vehicle Fleet Admin Guide 1. Create Vehicle Fleet To create a vehicle fleet, you need to add the name of the fleet in the fleet list from the super admin panel. Vehicle Fleets > Fleet List > Add Fleet > ADD 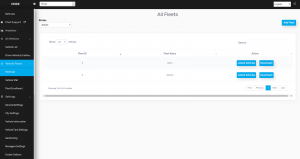
2. Add Fleet Owner
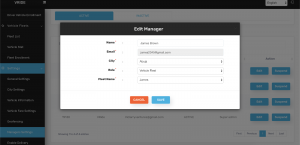
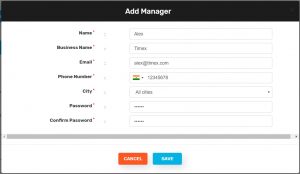
After creating a fleet, you need to add the fleet manager for that particular fleet from the Super Admin Panel > Manager Settings > Add Manager > Details (Role – Vehicle Fleet) So now you have created a fleet and assigned a manager and created username and password for that manager.
*Note: Fleet manager can be created for a particular city only. Cannot be created for all the cities.

3. Link Vehicles to Fleet
After assigning the fleet to a fleet owner, you can link vehicles to the fleet from the Super Admin Panel. Follow the below mentioned steps:
1. Navigate to Fleet List tab of the admin dashboard
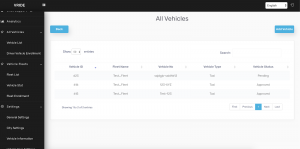
2. Click on Linked Vehicles corresponding to a vehicle fleet
3. You’ll find the list of all the vehicles associated with the fleet as well as their status (Approved or Pending)
4. Click on Add Vehicle to add a new vehicle to the fleet.
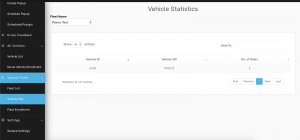
4. Vehicle Stats
This section provides details corresponding to the number of rides that have been done by a vehicle on a given day.
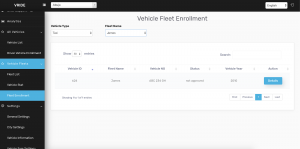
5. Vehicle Fleet Enrollment
All the vehicles that are being added by the vehicle fleet owners are required to be approved by the admin and this section let’s the admin view details of the vehicles (Documents and vehicle information) which needs to be approved by the admin without which the vehicle will not be registered in the system.
Following are the steps to view and approve/reject Vehicles on boarded by vehicle fleet owners:
1. Navigate to the Fleet Enrollment tab.
2. Filter the vehicle enrollments based on their Vehicle Type and Fleet Names. This list will show only those vehicles which are not approved by the admin.
3. Admin can view the details of the vehicle and approve or reject the documents uploaded by the vehicle fleet owners.
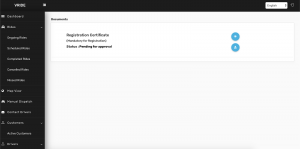
6. Create Vehicle Fleet Enrollment Document
An admin can define the set of documents which the vehicle fleet owners need to upload while attaching their vehicles with the business.
Following are the steps to create vehicle fleet documents:
1. Navigate to the Documents tab under the Drivers section.
2. Click on All Document sub-tab.
3. Click on Create Documents.
4. Fill the document details followed by selecting the document category as Fleet Vehicle Document.

Vehicle Fleet Owner Guide
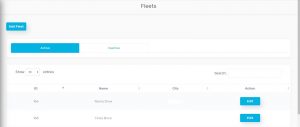
1. Create Vehicle Fleet
To create a Fleet Account, add the name of the fleet in the fleet list from the super admin panel. Fleet can be added city wise.
Fleets > Add Fleet > Add Fleet and City > Add.
2. Add Fleet Owner
After creating fleet, You need to add manager for that particular fleet from admin Dashboard
So now you have created a fleet and created a username and password for that manager
*Note: Fleet manager can be created for a particular city only. Cannot be created for all the cities.
3. Assigning Franchise(Fleet) Role:
After Adding Manager assign role as an Franchise where list of franchise(fleet) names will be available select the Franchise name.
Manager setting > select manager > Edit > Select Role (Franchise) > Select Franchise name > Done.

4.Driver Enrollment
Drivers can be onboarded in three ways to the Fleet
Registered drivers can converted into Fleet (Franchise)
Fleet Owner can Add drivers from his panel
Drivers can select Fleet (Franchise) while registering through Application.
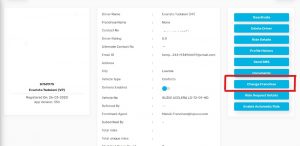
If a driver is already registered as a normal driver, that driver can be converted to Fleet driver.
Go to Active Driver > Select Driver need to shift to Fleet > Double tap on the driver > It will redirect to driver profile > Click on Change Franchise > Select Franchise > Done.
Leave A Comment?